The Secret to Tender BBQ Ribs: A Guide for BBQ Lovers

Table of Contents
1. Introduction
2. Choosing the Right Cut
- Baby Back Ribs
- Spare Ribs
3. The Importance of Preparation
- Removing the Membrane
4. Seasoning and Marinating
- Popular Rib Rub Ingredients
5. Low and Slow Cooking
- Smoking or Grilling
- Oven Cooking
6. Wrapping for Tenderness: The Texas Crutch
7. Finishing with Sauce (Optional)
8. Resting and Slicing
9. Pro Tips for Ultimate Tenderness
- Maintain Moisture
- Patience is Key
- Know When They’re Done
10. Final Thoughts
Barbecue ribs hold a special place in the hearts of BBQ enthusiasts, and achieving that perfect, tender bite can feel like an art form. Whether you’re a seasoned pitmaster or a backyard griller, understanding the techniques that transform ribs from ordinary to extraordinary is key to creating a mouthwatering meal. This article dives into the secrets behind tender BBQ ribs, sharing insights and tips to help you master this iconic dish.
1. Choosing the Right Cut
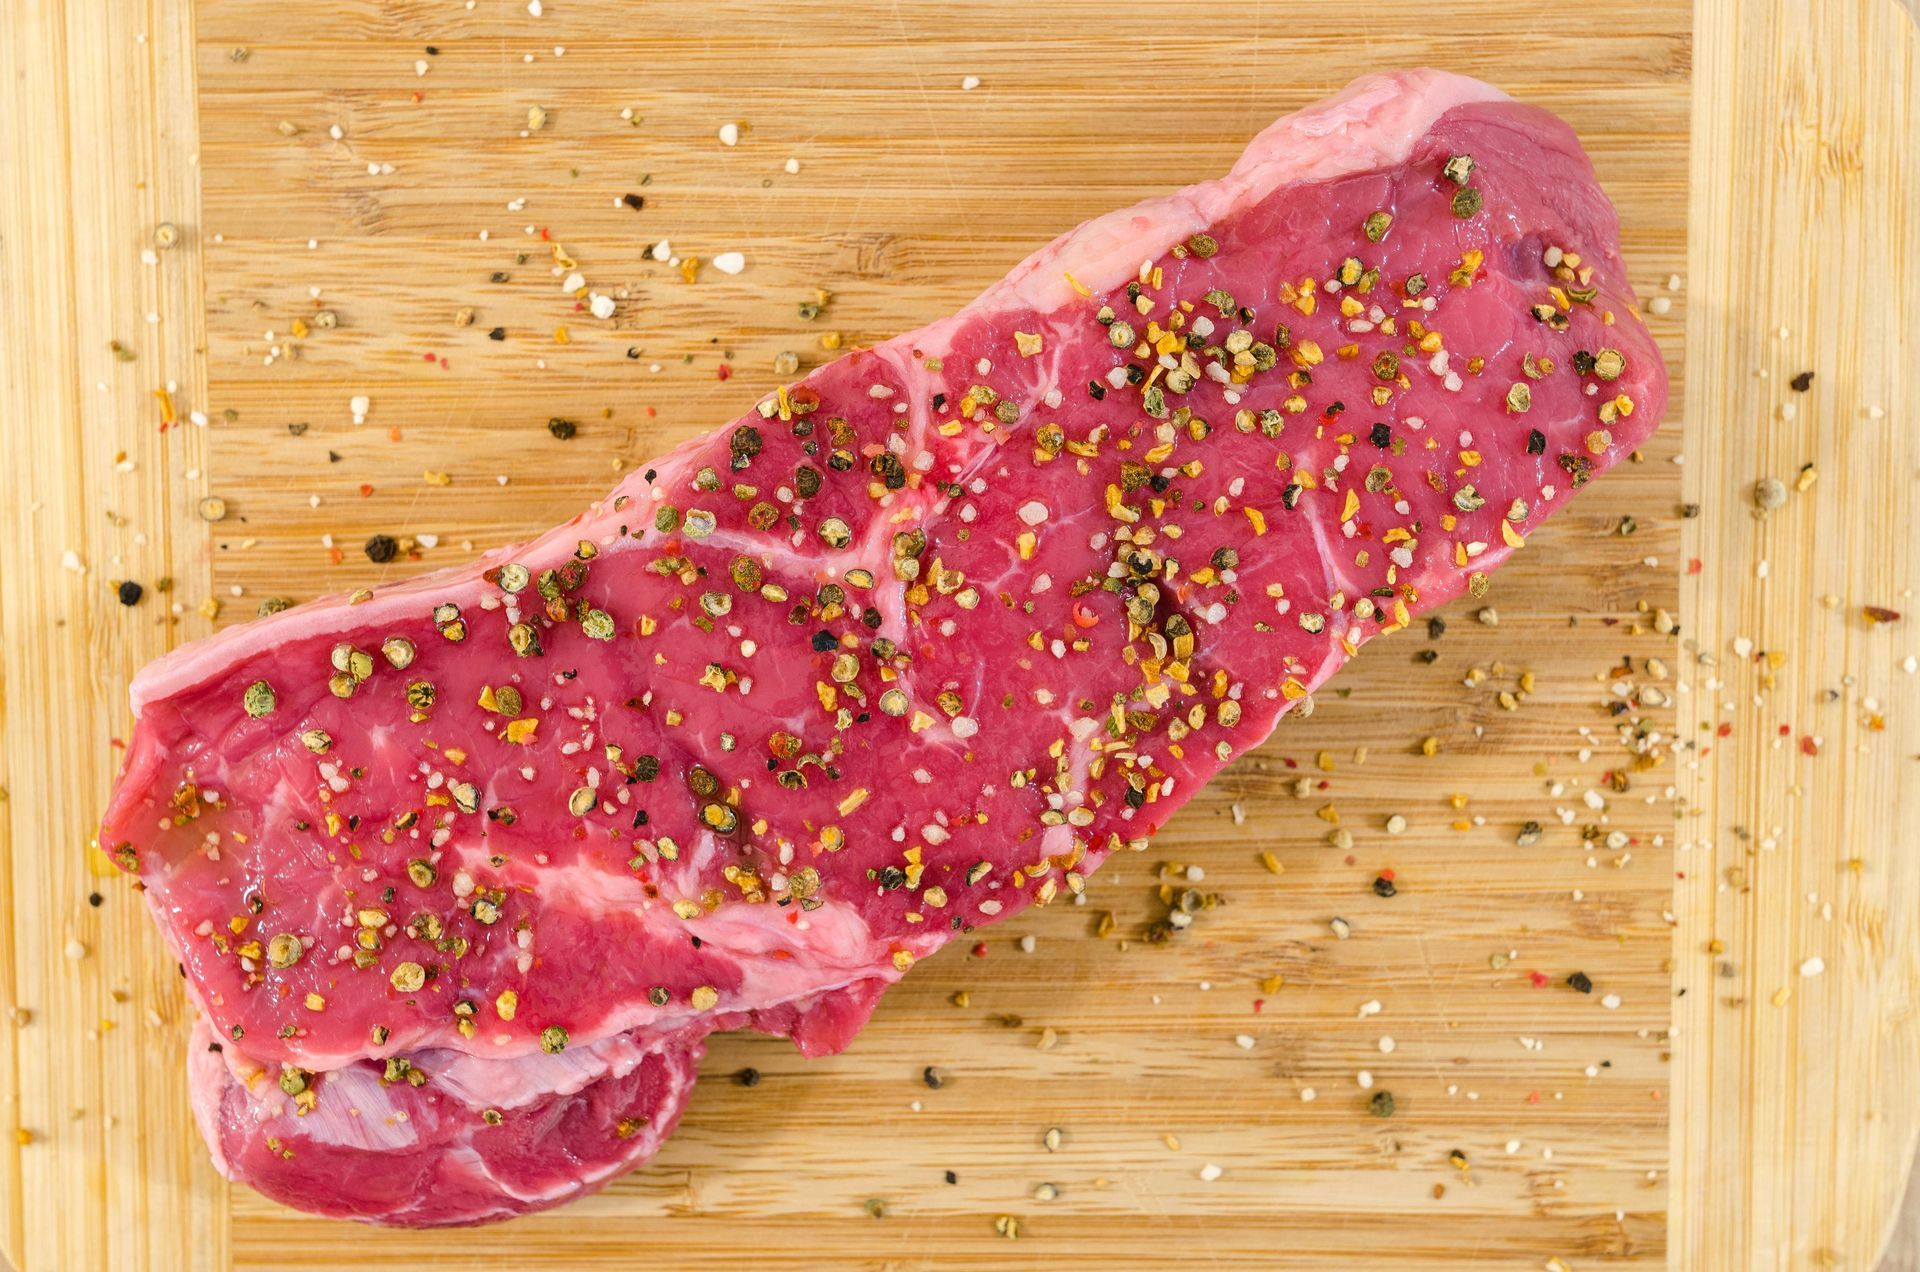
The journey to tender ribs starts with selecting the right cut. There are two primary types of ribs: baby back ribs and spare ribs.
- Baby back ribs come from the upper part of the ribcage, near the backbone. They are leaner, shorter, and cook faster than spare ribs, making them a popular choice for those looking for a quicker option.
- Spare ribs, on the other hand, come from the lower part of the ribcage. They are larger, meatier, and contain more fat, which gives them a richer flavor when cooked properly. While they take longer to cook, they reward patience with their tenderness.
Choosing the right cut depends on your preference for flavor and cooking time, but both can be made deliciously tender with the proper technique.
2. The Importance of Preparation
One of the most overlooked steps in making tender ribs is proper preparation. Before seasoning, be sure to remove the membrane (also known as the silver skin) from the bone side of the ribs. This tough membrane can block seasoning and smoke penetration, as well as make the ribs chewier.
To remove the membrane:
- Use a sharp knife to loosen it from one end.
- Grip the membrane with a paper towel for a better grip and pull it off in one smooth motion.
3. Seasoning and Marinating
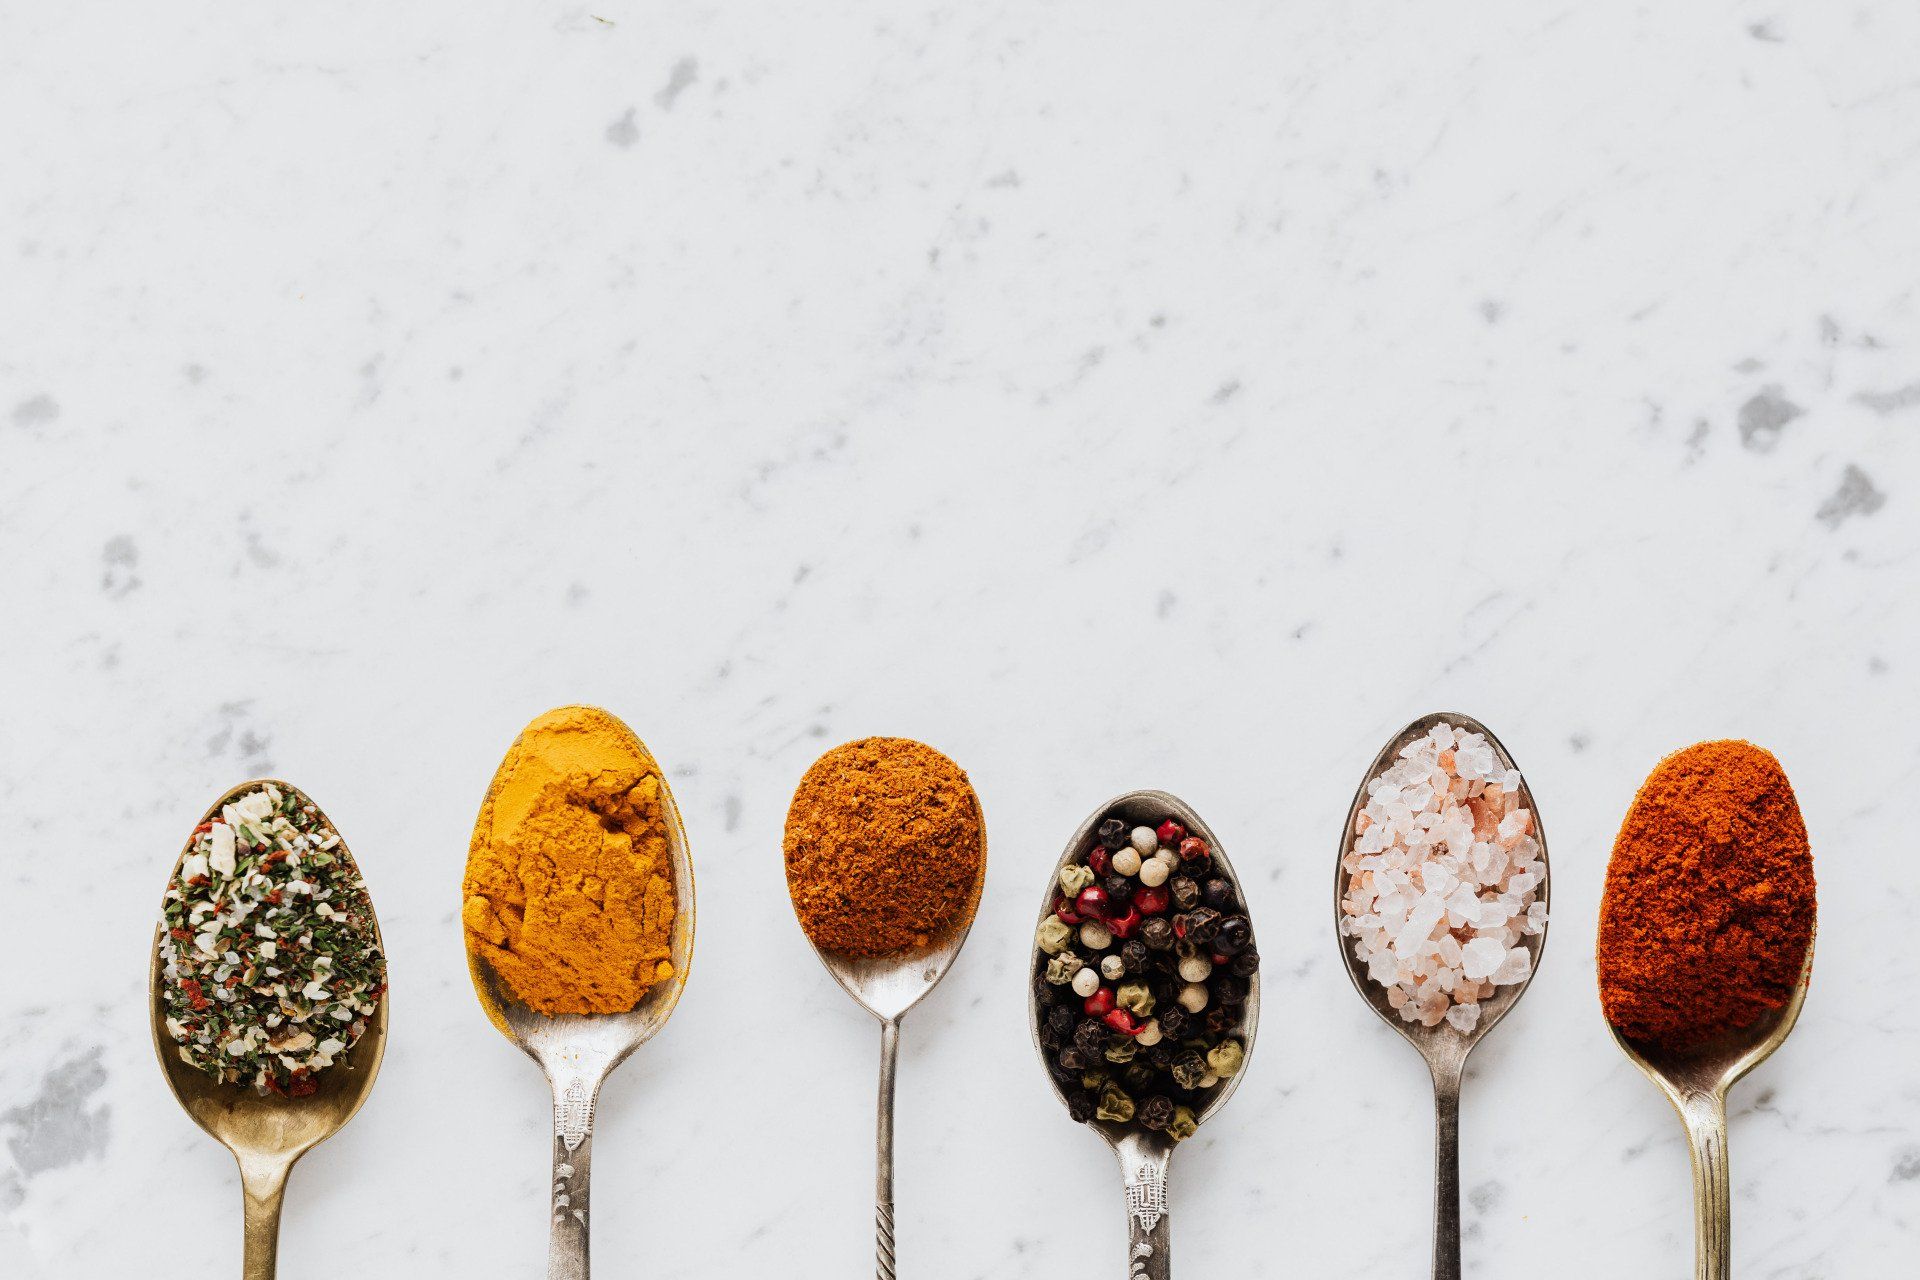
The flavor profile of your ribs starts with the seasoning. Whether you prefer a simple salt and pepper rub or a more complex combination of spices, generously coating the ribs with a dry rub adds layers of flavor that will enhance the overall experience.
Some popular ingredients in rib rubs include:
- Brown sugar (for sweetness and caramelization)
- Paprika (for a smoky, earthy taste)
- Chili powder (for a bit of heat)
- Garlic powder and onion powder (for savory depth)
- Black pepper and salt (for seasoning)
After applying the rub, let the ribs sit for at least 30 minutes to allow the flavors to penetrate. For even deeper flavor, consider marinating the ribs overnight.
4. Low and Slow Cooking
The real secret to tender BBQ ribs lies in the cooking process. The phrase “low and slow” is key—cooking ribs at a low temperature over a long period allows the connective tissues to break down, resulting in juicy, tender meat that falls off the bone.
Smoking or Grilling:
- If you’re smoking the ribs, aim for a temperature between 225°F and 250°F. This range ensures that the ribs cook slowly without drying out. Use wood like hickory, apple, or cherry for added smoky flavor.
- If grilling, set up your grill for indirect heat by placing the ribs away from direct flames. Maintain a similar low temperature and cover the grill to allow the ribs to cook evenly.
Oven Cooking:
- For those without access to a smoker or grill, ribs can be cooked in the oven. Wrap them in aluminum foil and bake them at 275°F for 2-3 hours, ensuring that they remain moist and tender.
5. Wrapping for Tenderness: The Texas Crutch
A technique known as the Texas Crutch involves wrapping the ribs in foil during cooking. This step helps to steam the meat, trapping moisture and breaking down collagen for ultra-tender ribs. After about 2-3 hours of cooking, tightly wrap the ribs in foil with a little liquid, such as apple juice, beer, or broth, and cook for another hour. The added liquid and sealed environment create a steamy cooking process that tenderizes the meat.
6. Finishing with Sauce (Optional)
While some BBQ purists prefer their ribs without sauce, others love the sticky, caramelized glaze that BBQ sauce provides. If you decide to sauce your ribs, wait until the last 30 minutes of cooking to brush on the sauce. Applying it too early can cause the sugars in the sauce to burn.
To achieve the perfect glaze:
- Unwrap the ribs after the Texas Crutch step.
- Generously brush on your BBQ sauce of choice.
- Place the ribs back on the smoker or grill for another 20-30 minutes, allowing the sauce to set and create a glossy finish.
7. Resting and Slicing
Once your ribs have finished cooking, resist the temptation to cut into them right away. Allowing the ribs to rest for 10-15 minutes after removing them from the heat will help the juices redistribute throughout the meat, keeping them moist and tender.
When slicing your ribs, turn them bone side up and use a sharp knife to cut between the bones. This method ensures that you get even slices without tearing the tender meat.
8. Pro Tips for Ultimate Tenderness
- Maintain Moisture: During the cooking process, occasionally spritz your ribs with a liquid like apple juice, vinegar, or broth to keep them moist.
- Patience is Key: Rushing the cooking process can lead to tough, chewy ribs. It’s worth the wait to cook them low and slow.
- Know When They’re Done: A good indicator of doneness is when the meat pulls back from the bones by about 1/4 to 1/2 inch, and the ribs have a slight bend when lifted from one end.
Final Thoughts
Making tender BBQ ribs is a rewarding process that requires attention to detail, patience, and a love for good food. Whether you’re grilling, smoking, or using the oven, these techniques and tips will help you unlock the secrets to perfectly tender ribs. The result? Juicy, flavorful, and fall-off-the-bone ribs that are sure to impress your family and friends at your next BBQ.
Now that you know the secrets, fire up your grill or smoker and get ready to enjoy the most tender BBQ ribs you’ve ever made!
